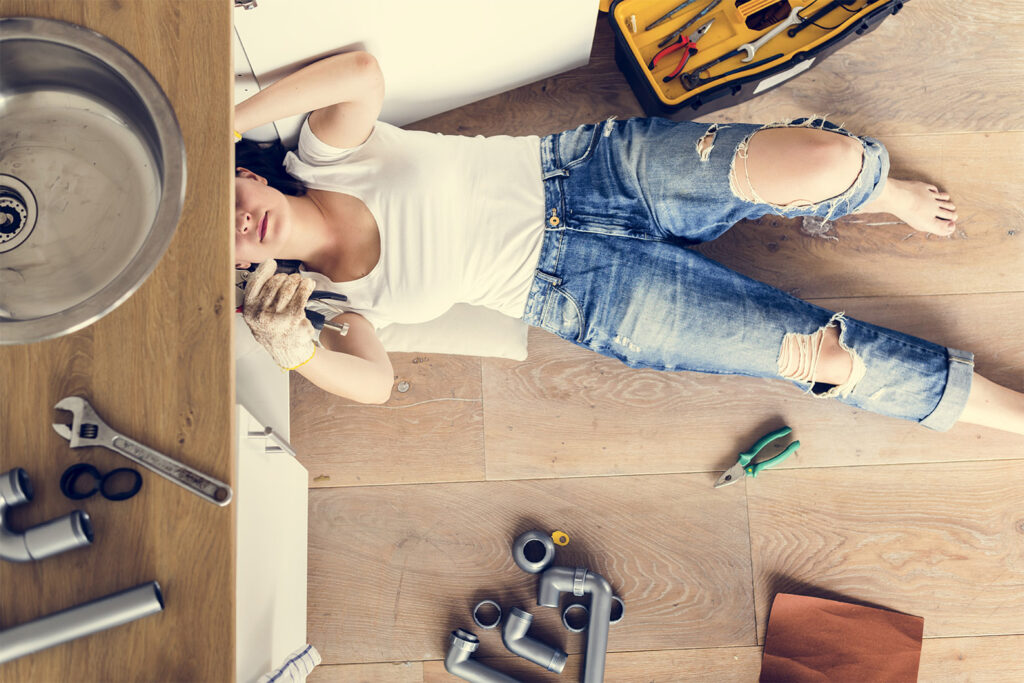
A leaking tap isn’t the end of the world, but it sure can irritate you if you’re having to wipe around the base of your tap every time you use it. If you want to have the problem fixed, then we have some good news and some bad news. Let’s start with the bad news: a tap leaking from base can have a few different causes, and some of them might require the help of a friendly local plumber if you’re uncomfortable doing more technical work yourself. But the good news is: all the most likely causes and their fixes will be listed throughout this article, so at least you’ll know what the problem might be before you attempt a fix yourself or call a plumber out. Ready to find out what the most common causes of a leaking tap at the base are, as well as their fixes? Then you’re in the right place!
First Things First
Before you do any further investigating, take a moment to pause. Now go back to your tap and have another look at the leak. Is it actually leaking at the base? The reason we ask this is that a lot of times people approach plumbers with complaints of leaking taps at the base, only for it to not have been leaking at all.
Sometimes, water trickles down the tap from the spout and pools at the base, making it look as though water is leaking from there. This is a whole other issue for a different post, but you should place your finger underneath the tap to make sure it isn’t wet there. If it is, then water is leaking from the spout, not the base. If it isn’t, then it’s time to examine the issue a little closer.
Examining The Leak
Tap Leaking From Base: Above The Sink
If your tap is leaking from the base, then you have a mixer tap (you know the ones where you adjust the hot and cold water at the same time to determine the temperature that leaves the single spout). Mixer taps are common in kitchens and bathrooms, which means sometimes they sit above a cupboard when their positioned in a kitchen. If the water is leaking from the base of the tap above the sink, then you have a leaking tap, which can be fixed with a few simple enough steps we’ll outline in the section below.
Tap Leaking From Base: Below The Sink
If, however, you have a tap that is leaking from the base below the sink – that’s to say the pooling is happening in the cupboard below the sink in a kitchen, for example – then the issue is almost certainly not a leaking tap, but a poorly positioned one. This just needs loosening and reseating, which you can do yourself with some putty (not silicone, this will erode quickly and you’ll be back to square one – something like ‘Plumbers Mait‘ is best), or a local plumber can come out and fix it relatively quickly.
Today’s article is about a leaking tap from the base, though, so we won’t be discussing water pooling in cupboards anymore. Instead, we’ll focus on water pooling above the sink, which is most likely the problem you’re noticing in your kitchen or bathroom at home, and the whole reason you’re reading this post in the first place.
Likely Causes
So, you’ve determined that the water is indeed leaking from the base of your tap, and the water is pooling above the sink. Good. Now you want to know what the issue is. Well, it’s the swivel joint, and more specifically, the seal here. So now you know what the technical name for the issue is, but what’s caused it? It could be any of the following reasons:
- Improperly installed seals (most likely if your sink is new)
- General wear and tear, damaging the seals and swivel joint overtime (most likely if your sink is old)
- Dirt buildup at the swivel washer
- Damaged swivel washer
Unfortunately, the only way you’re going to find out what the issue is exactly is by taking the tap apart. This is a simple enough DIY job, but we also know not everybody is comfortable fixing their own plumbing, so unfortunately all you can do now is call a plumber and wait for them to determine the issue and fix it for you. If you’re feeling in the mood for DIY, however, then read the section below to follow our step-by-step guide on how to take the tap apart to identify the issue and then fix it.
Steps To Take To Fix The Issue
Step 1
The first thing you need to do is turn off the water – that way you and your house will remain dry. You can do this by finding the valves beneath your sink and turning them completely to the off position to turn off the water supply to your sink. If you can’t access this easily for whatever reason, then you can reach instead for the stop tap or stopcock to turn off the water supply to your entire home. Either way, you need to make sure there is no water coming to your sink.
Once you’ve done that, run the taps for a moment to make sure all the water is gone.
Step 2
Next, you need to remove the cap (or the part of the tap you turn to make your water run). Regular screws or Allen key screws may hold this in place, but some just lift right off. You’ll need to investigate to find out what your cap has or hasn’t got holding it in place.
Step 3
Now you need to remove the shroud from inside the tap. Most of the time, you can unscrew it by hand, but if you’re having difficulty, reach for a strap wrench to remove it.
Step 4
Your next step is removing the mixing cartridge casing, but to do this, you’ll first need to take a spanner and loosen the nut above it before pulling it out. It can be quite stubborn, so use a strap wrench if necessary to remove the cartridge itself, but be careful not to damage it as you do.
Step 5
Now we’re at the important bit: the swivel washer. This will tell you everything you need to know about whether someone installed it wrong to begin with, it’s dirty, it’s broken, or it has been worn down over time. If they have installed it wrong or it’s dirty, then simply remove it, clean it with a wire brush if necessary, and then reinstall it correctly.
If it’s damaged, worn, or broken, then take the washer out and replace it with a like for like part.
Step 6
Our final step is simple. Just repeat the previous steps in reverse order, being careful to put it back as you found it so everything is watertight and working correctly, and then test it. Your tap should no longer be leaking at the base!
And that’s it, if your tap is still leaking, then it’s likely being caused by a less common fault and will need the attention of a plumber for further inspection. Hopefully, our guide will have fixed the issue though, and you can now live leak free for many happy years! Or until the next time the swivel washer breaks… but we’ll still be here to guide you if that happens again!
Looking for something else to read? head on over to our stunning blog section where you can read on how to unclog your toilet without a plunger or fix a toilet with a button flush! You are sure to find something to peak your interest!